Since the beginning of this course a number of you have explored integrating music and sound into your labs (there are more than three of you but there are practical limits to the number of links I can have in a paragraph and remain sane). You will be happy to learn that using processing and Firmata this is now well within your grasp!
Here I’ll quickly walk through how you can get started processing sound from your computer microphone in Processing. I will then leave the integration of this and your existing Firmata code to you.
To get started you’ll need a working Processing installation. Lab 4 on bCourses should have already walked you through that.
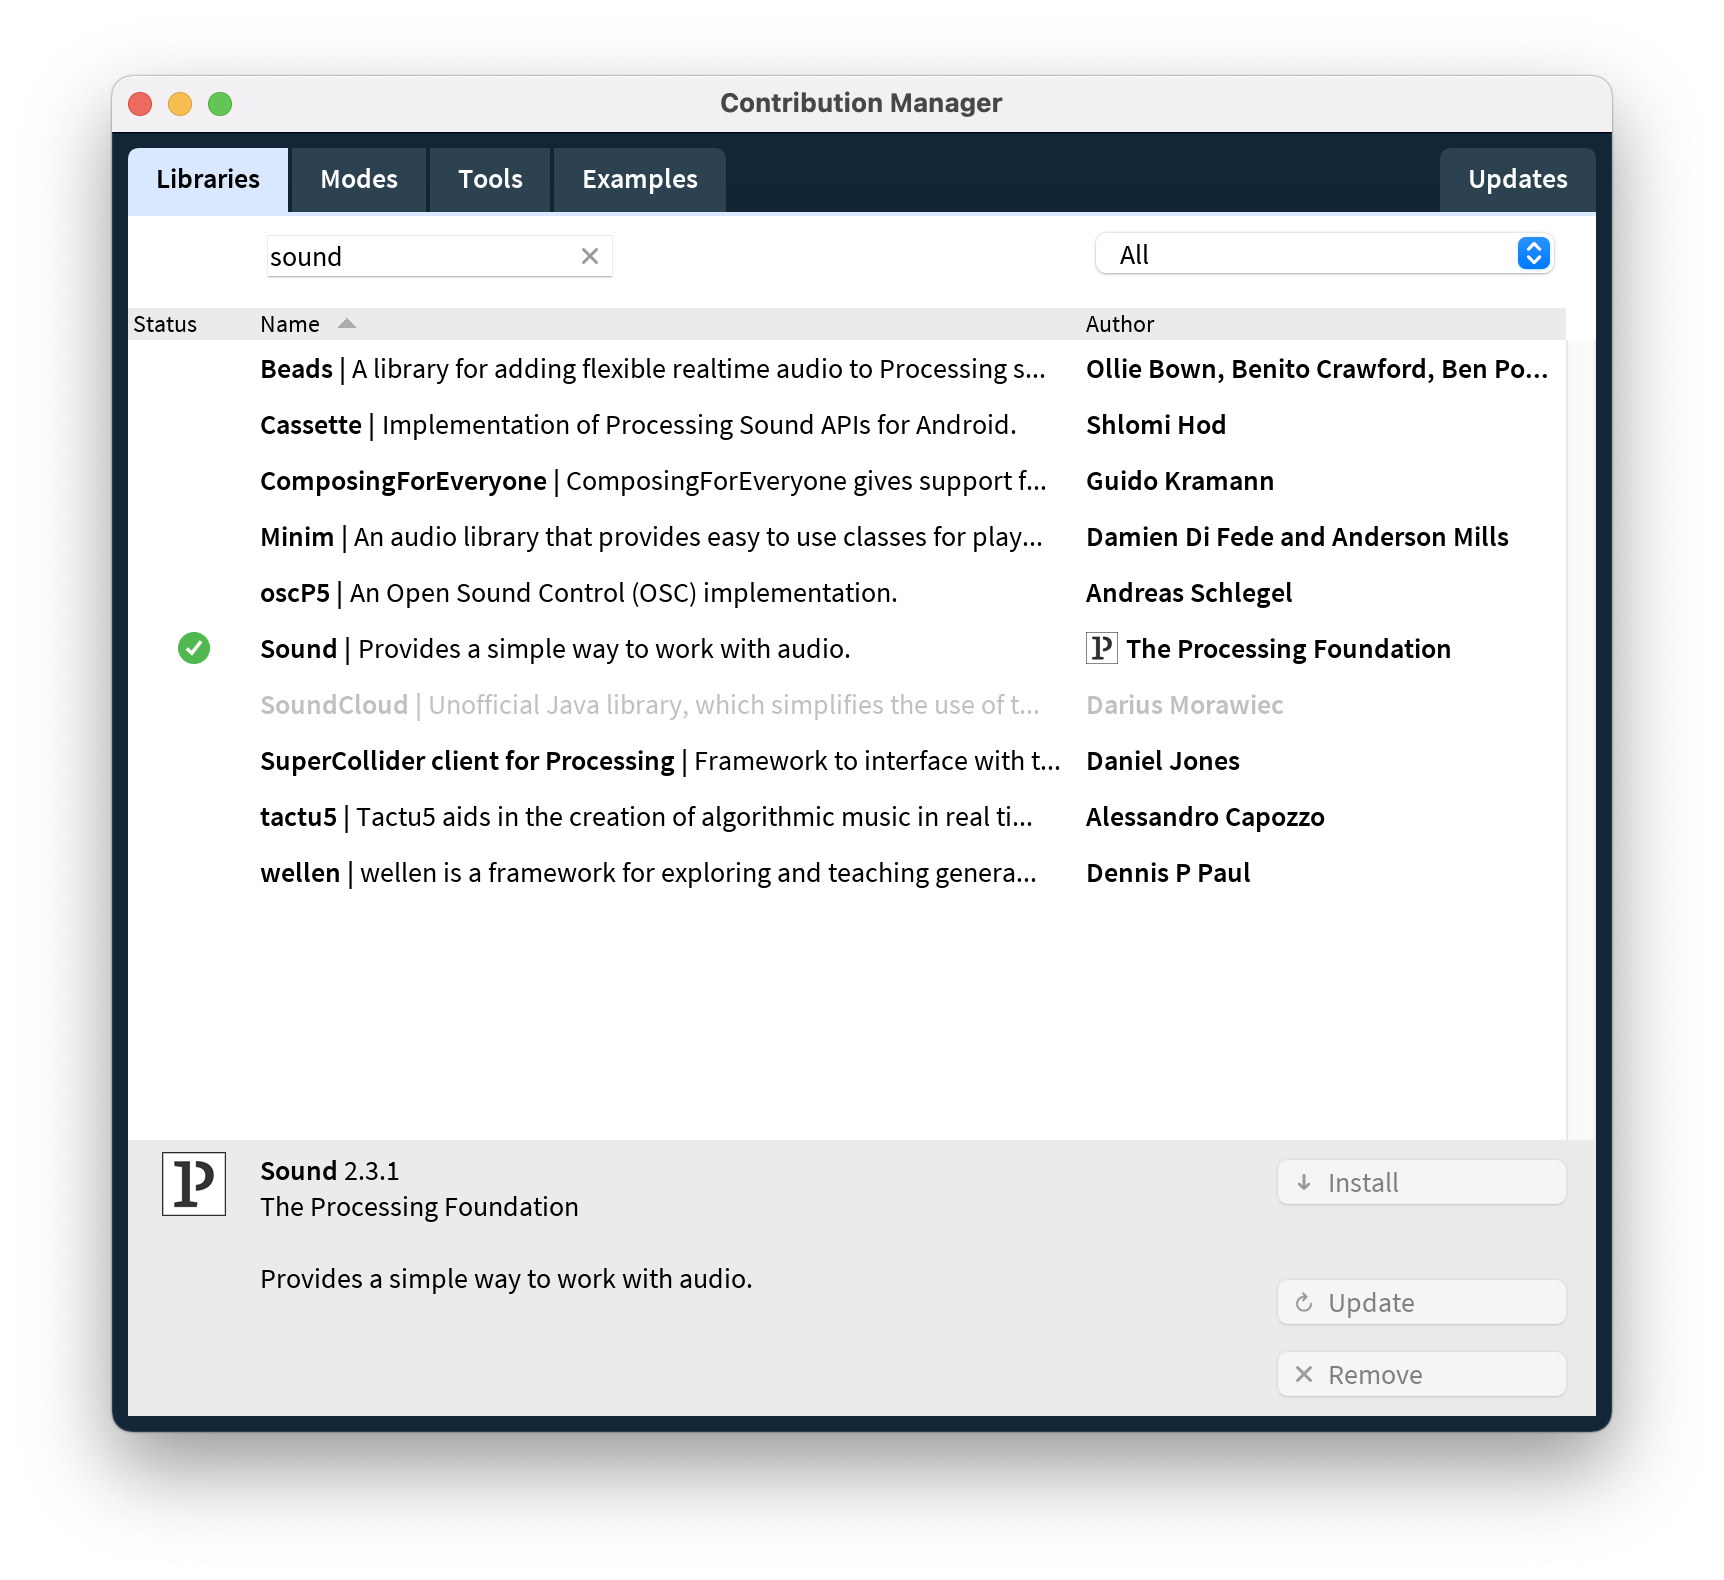
With a new Processing program open navigate to Sketch => Import Library => Add Library and search for “sound” in the search box. Your results ought to look something like this:
Select the one called “Sound” by “The Processing Foundation” and press the install button to install it. You can find detailed documentation about using this library in your code here.
Having done that you can now import and use the library in your current Processing sketch. In the future if you want to use it in a new sketch you won’t need to add it every time and will be able to locate it directly in the Sketch => Import Library context menu.
Let’s start with a small program to demo sound input management in Processing.
import processing.sound.*;
Amplitude amp;
AudioIn in;

void setup() {
  size(640, 360);
  background(255);

  // Create an Input stream which is routed into the Amplitude analyzer
  amp = new Amplitude(this);
  in = new AudioIn(this, 0);
  in.start();
  amp.input(in);
}

void draw() {
  println(amp.analyze());
}
This program won’t draw anything yet but it does all of the work leading up to drawing. It starts by creating an amplitude analyzer and an AudioIn object which will read information from the computer’s microphone:
It then finishes its setup routine by starting to read data from the microphone and feeding that data into the amplitude analyzer:
In the draw routine we just print the current amplitude of the sound the microphone is using. This value is bounded between 0 and 1 with 1 being the maximum possible reading from your mic and 0 being no incoming noise.
If you can read and use this code all the work of incorporating sound input into your project is done. The only remaining task is to work out how to use the values in a project.

If you’d like to take a look at a slightly more involved example of how you might use the sound input from your mic I’ve put together the following small example script (demo image above):
import processing.sound.*;
import java.util.LinkedList;

public class BoundedQueue<E extends Number> extends LinkedList<E> {
  private int limit;

  public BoundedQueue(int limit) {
    this.limit = limit;
  }

  @Override
  public boolean add(E o) {
    super.add(o);
    while (size() > limit) { super.remove(); }
    return true;
  }

  public float average() {
    float total = 0;
    for (E element : this) {
          total += element.floatValue();
    }
    return total / size();
  }
}

AudioIn input;
Amplitude analyzer;
BoundedQueue bq;


void setup() {
  //Set the screen size, turn off "stroke" outlines, and toggle drawing
  //rectangles with their center coordinates.
  size(640, 360);
  noStroke();
  rectMode(CENTER);

  bq = new BoundedQueue(5);

  // Start listening to the microphone.
  input = new AudioIn(this, 0);
  input.start();

  // Create an amplitude analyzer and hook it up to our mic input.
  analyzer = new Amplitude(this);
  analyzer.input(input);
}

void draw() {
  background(51);
  float read = analyzer.analyze();
  bq.add(read);
  float amplitude = bq.average();
  int xPos = int(amplitude * width);
  int yPos = int(amplitude * height);

  fill(255, 204);
  rect(xPos, height/2, yPos/2+10, yPos/2+10);
  fill(255, 204);
  int inverseX = width-xPos;
  int inverseY = height-yPos;
  rect(inverseX, height/2, (inverseY/2)+10, (inverseY/2)+10);
}
This builds off the mouse2D Processing example code to visualize the sound coming in on a microphone. The only tricky part here is the BoundedQueue class which assists in calculating a moving average of amplitude values and smooth out some noise on the mic.
Feel free to use this as you put together your own programs :)